Our first exercise was to ink up a piece of plastic, then place cut-out shape or shapes on top and print the result:
You can then re-ink the plastic and turn the shapes over to get a print of one shape on top of the other: you have to work at speed for this, before the ink dries on your mask - I was slower than I should have been, which resulted in a misty-looking print:

In the next one I used the end of a paintbrush to scribble lines in the ink, as well as blotting with scrim (there are also some fingerprints where I forgot and held it):

One of the things I really got into was layering the ink on the plastic in different ways - curved lines, varying the pressure, using the edge of the roller to get narrow lines and so on - the following print is from the basic inked up plate:
You'd never guess I'm into a woodland theme at the moment, would you?
The last two involve masking off, this time with torn rather than cut paper; this gives a softer, subtler effect:

-though the effect is subtler than I intended - forgot again to add more ink before inking up the roller, but it does give some very subtle colours, which become even more subtle when the strips are turned over on the re-inked plastic:

This week it's drypoint which means we have to take a line-drawing to use, so off to practice my drawing skills. I also have some other prints which are waiting in the drying-rack.


 Aren't the colours wonderful?
 This is known as the chalet: when I lived in the woods, the Warden lived here; now Wytham Woods has a Conservator (probably a more accurate title and probably posher) but I don't think he lives here - I could be wrong!


 and there are magical places, like these, where the water has been culverted so as not to drain the path...


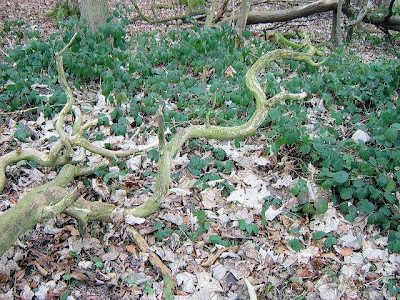
 Trees here are allowed to split, droop, fall apart, decay and above all grow unrestricted:


